LED Cabinet Lighting Installation Checklist
Question: What are your Power Requirements?
Are you installing A. 12V and 24V (low voltage lighting) or B. 120V (high voltage, hard-wired)?
A. 12V and 24V
Low voltage LED lighting is recommended and preferred for DIY.
LEDs are connected to a low voltage power supply, converting 120V into 12V and 24V, and keeping accidents to a minimum. Low voltage lighting also produces less heat, making for a more comfortable space
1. Do you have direct access to outlets or will you need to hard-wire?
2. How will you run your wire so that it is best concealed?
AdvantageS
Simple for DIY installations with no electrical wiring necessary
Electrical access is not required
Disadvantages
Wire and cords can be difficult to hide
Requires the use of electrical outlets
B. 120V
Please consult or hire an electrician if you are not certified to handle 120V wiring. High voltage wiring is not only dangerous, installation will void warranties if not properly installed.
1. Do you have direct access to power boxes?
2. How will you run your wire so that it is best concealed?
AdvantageS
Linking fixtures simplifies installation
Electricians/installers are familiar with these systems
Disadvantages
These fixtures are designed for under cabinet use, so the ability to install other applications is limited
Not recommended for DIY
Recommended Tools Checklist For Low Voltage 12V and 24V INstallations
Cordless drill
Scissors or wire cutter
Wire stripper/cutter
2-wire 18AWG for standard lighting
4-wire 18AWG for RGB
5-wire 18AWG for RGBW
Materials needed for 12V and 24V LED Cabinet Light installations
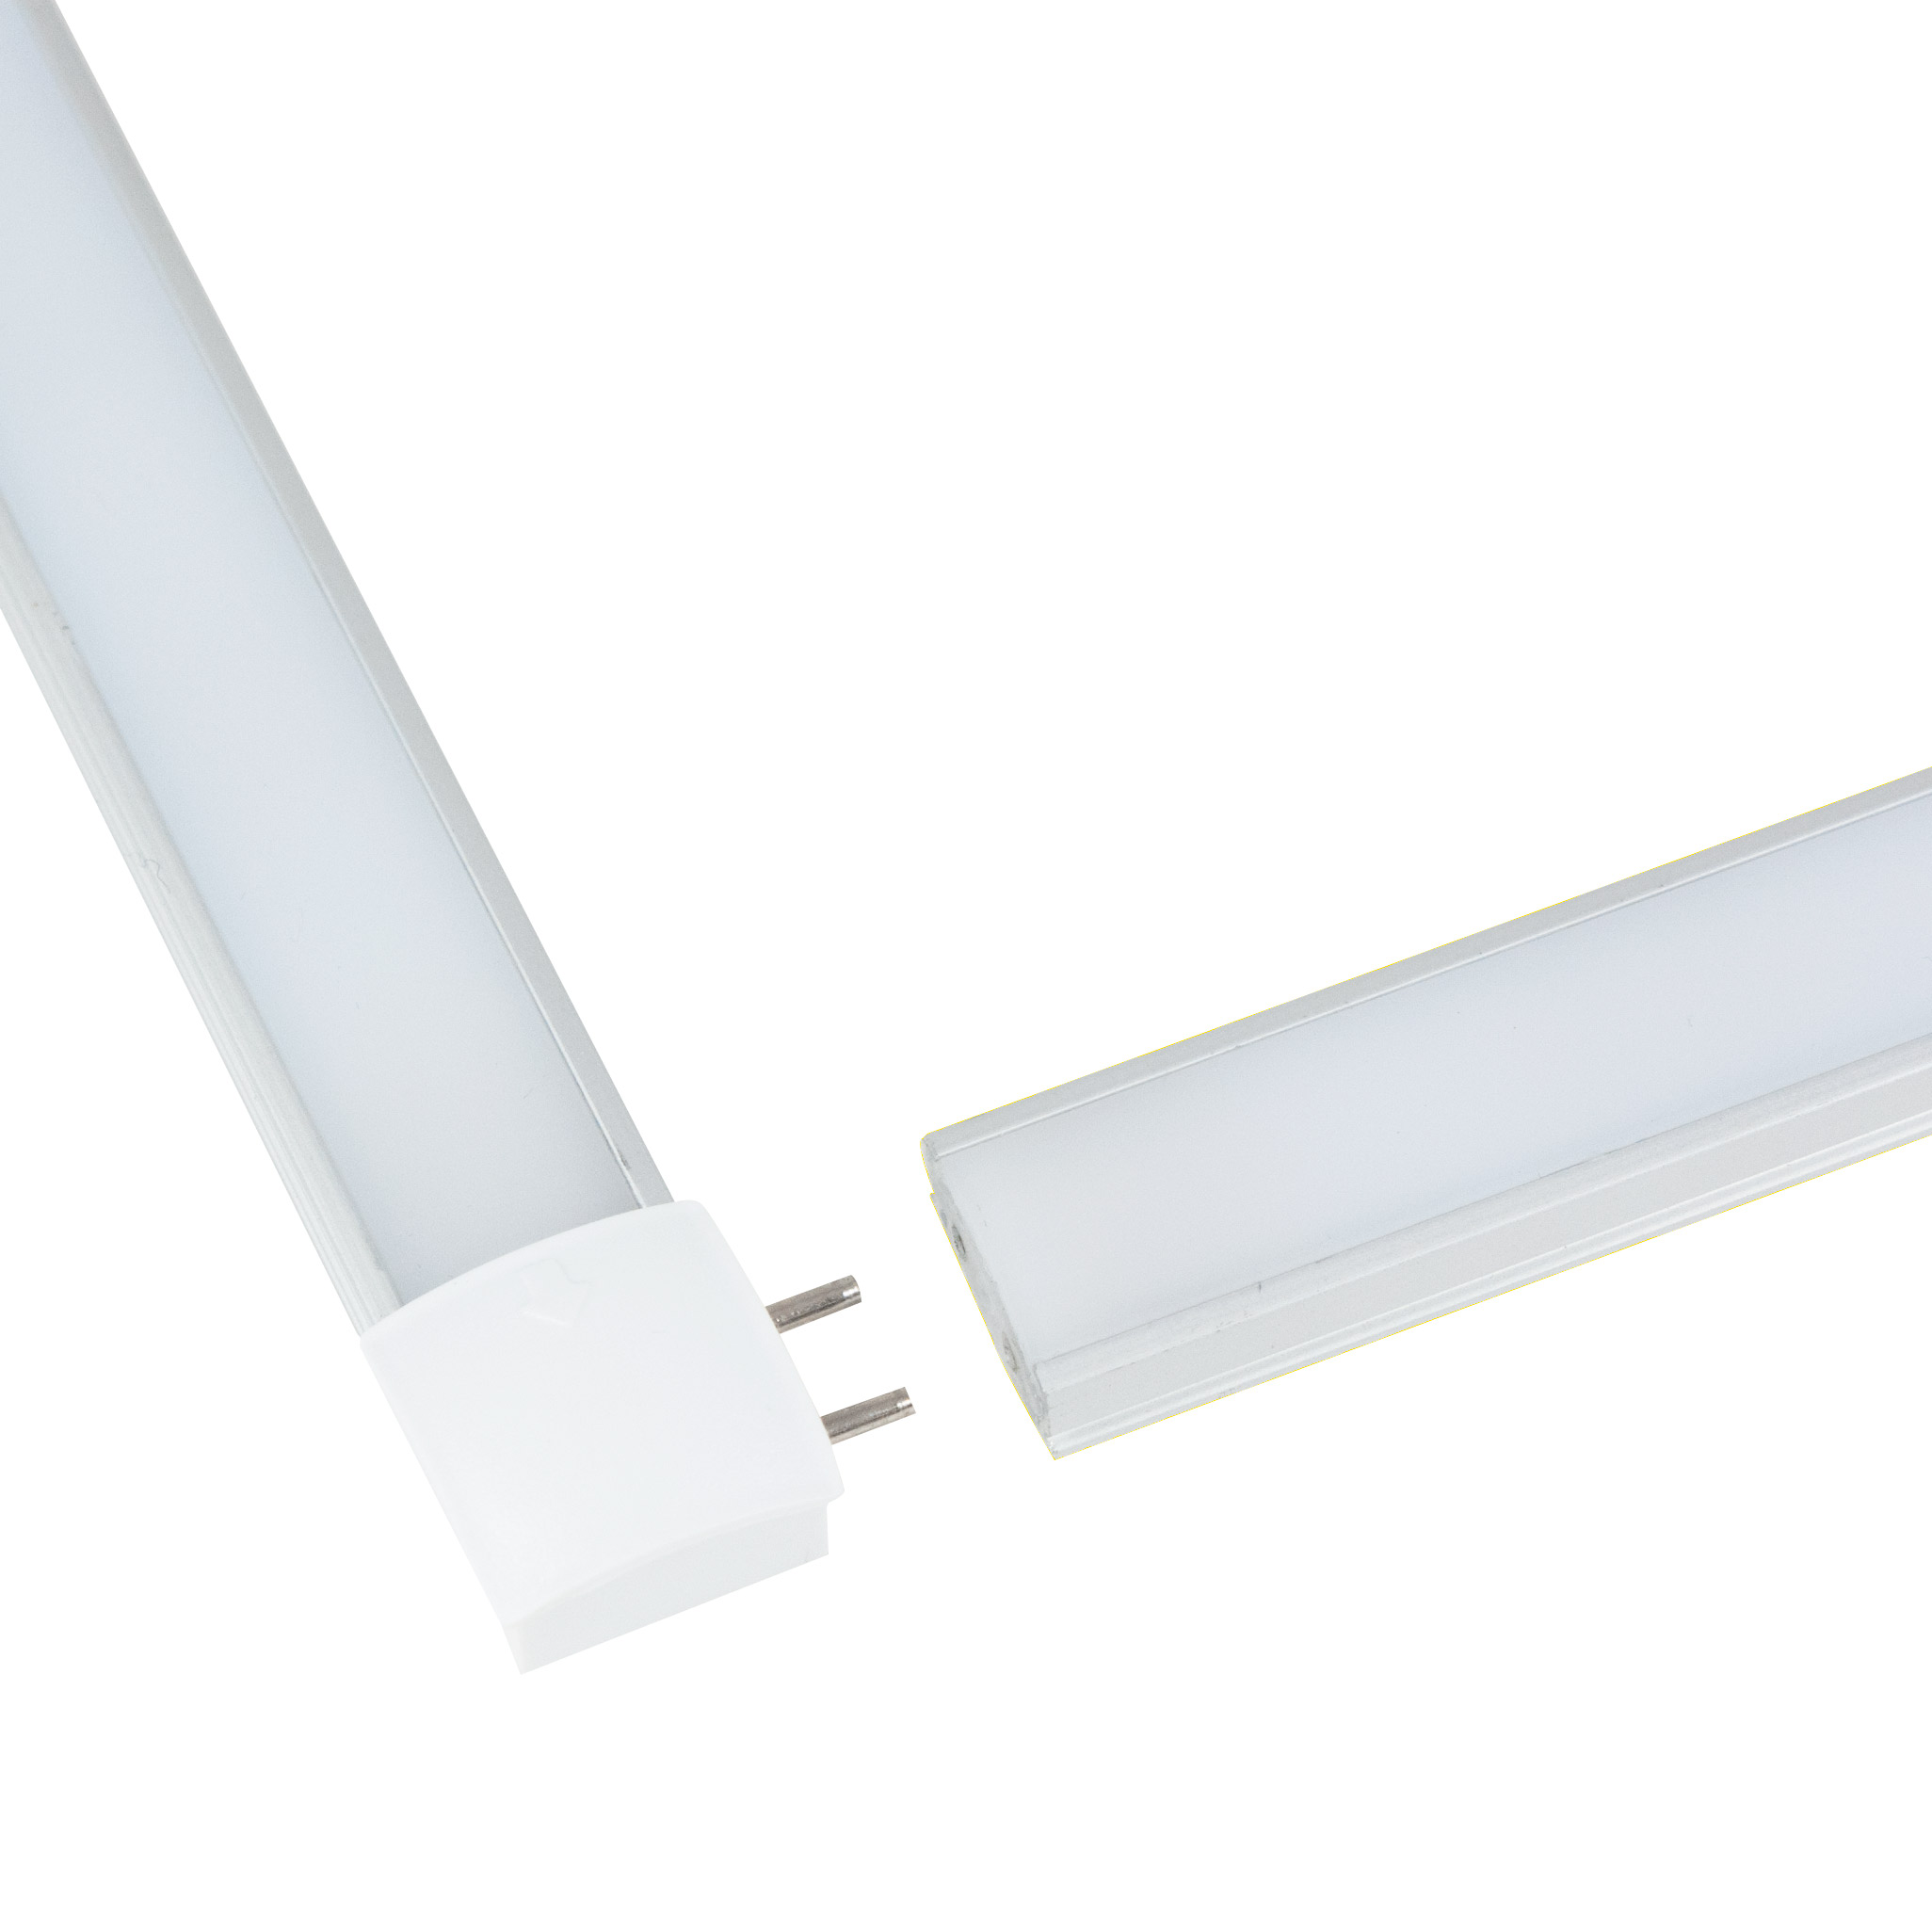
LL50 24V LINKABLE LED LINEAR LIGHT
This bright, even illumination 24V Plug & Play system has simple installation with multiple ways to mount.
Just plug into a wall outlet and connect the linear bars together with in-line, wire, or corner connectors. Includes 2 x slim surface mount clips.
Determine if the following accessories are needed: G. Input Power, H. Touch Switch, I. Middle Connector, J. Corner Connector, K. Jump Connector, L. 45° Angle Clip
Wire: No wire required.
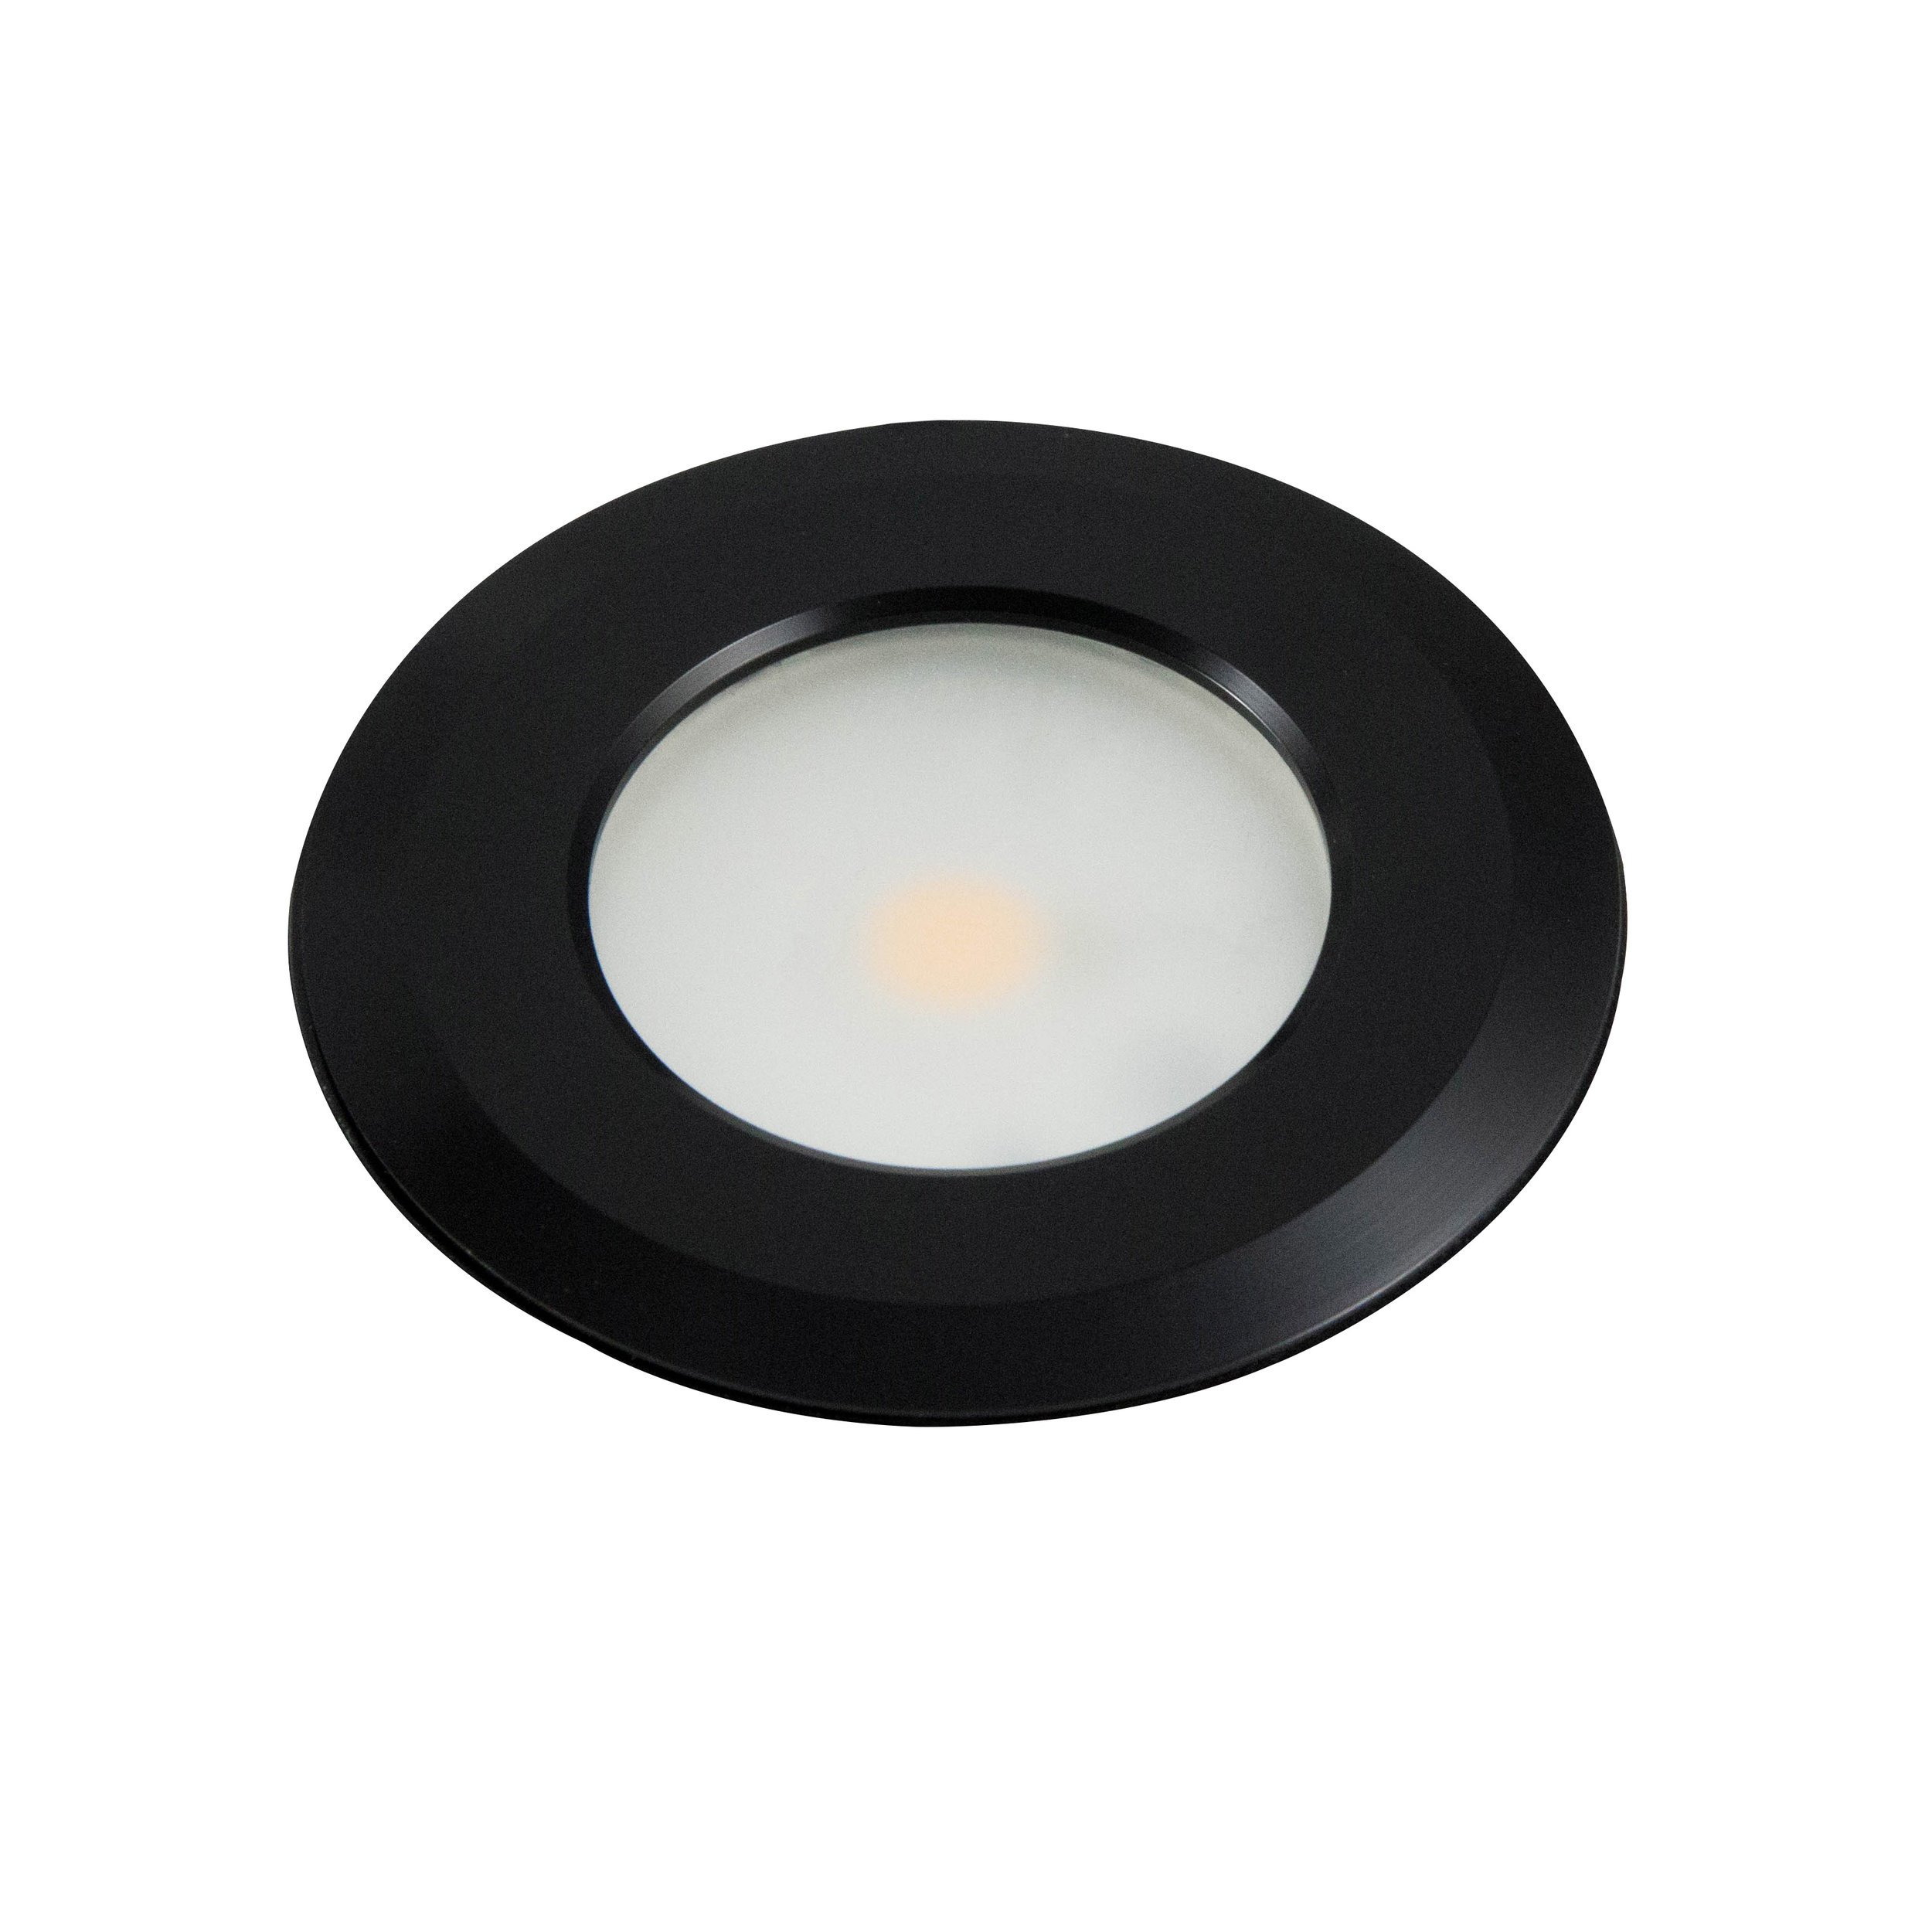
RD7 Recessed Puck Light
The RD7 1.75 inch Recess LED Cabinet Puck Light comes in 3 trim color finishes:
Black RD7 Trim, White RD7 Trim, Brushed Nickel RD7 Trim
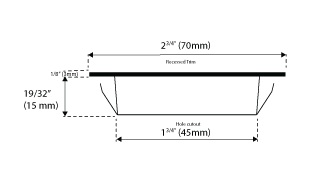
You will need a tool capable of creating a 1-3/4 in. cut-out.
Installation is achieved by inserting the RD7 into the 1-3/4 in. cut-out. Pressure fit clips included on either side hold the puck firmly in place.
Wire: 18AWG 2-wire requirement.
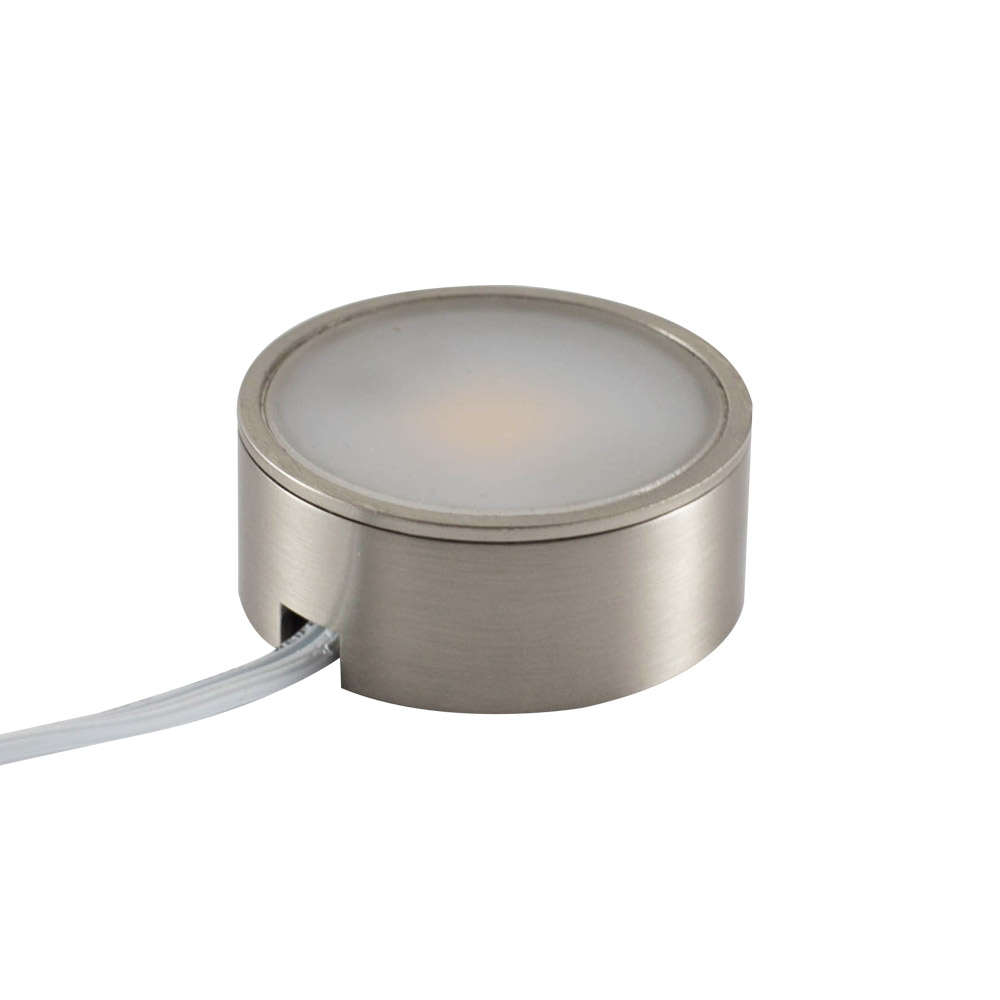
RD7 Surface Mount or RecesS Puck Light
The RD7 1.75 inch Surface LED Cabinet Puck Light can also be a recessed trim-less LED Puck Light. Available in 3 trim color finishes:
Black RD7 Trim, White RD7 Trim, Brushed Nickel RD7 Trim
You will need a tool capable of creating a 1-3/4 in. cut-out if you wish to recess install.
Installation is achieved by mounting the included base using provided screws, or inserting the RD7 into a 1-3/4 in. cut-out. Pressure fit clips included on either side hold the puck firmly in place.
Wire: 18AWG 2-wire requirement.
RD10 4W Surface Mount Puck Light
The RD10 4W 2.25 in. Surface LED Cabinet Puck Light can also be a recessed LED Puck Light. Available in 3 trim color finishes:
Black RD10 Trim, White RD10 Trim, Brushed Nickel RD10 Trim
You will need a tool capable of creating a 2-1/4 in. cut-out if you wish to recess install.
Installation is achieved by mounting the included base using provided screws, or inserting the RD10 into a 2-1/4 in. cut-out. Pressure fit clips included on either side hold the puck firmly in place.
Wire: 18AWG 2-wire requirement.
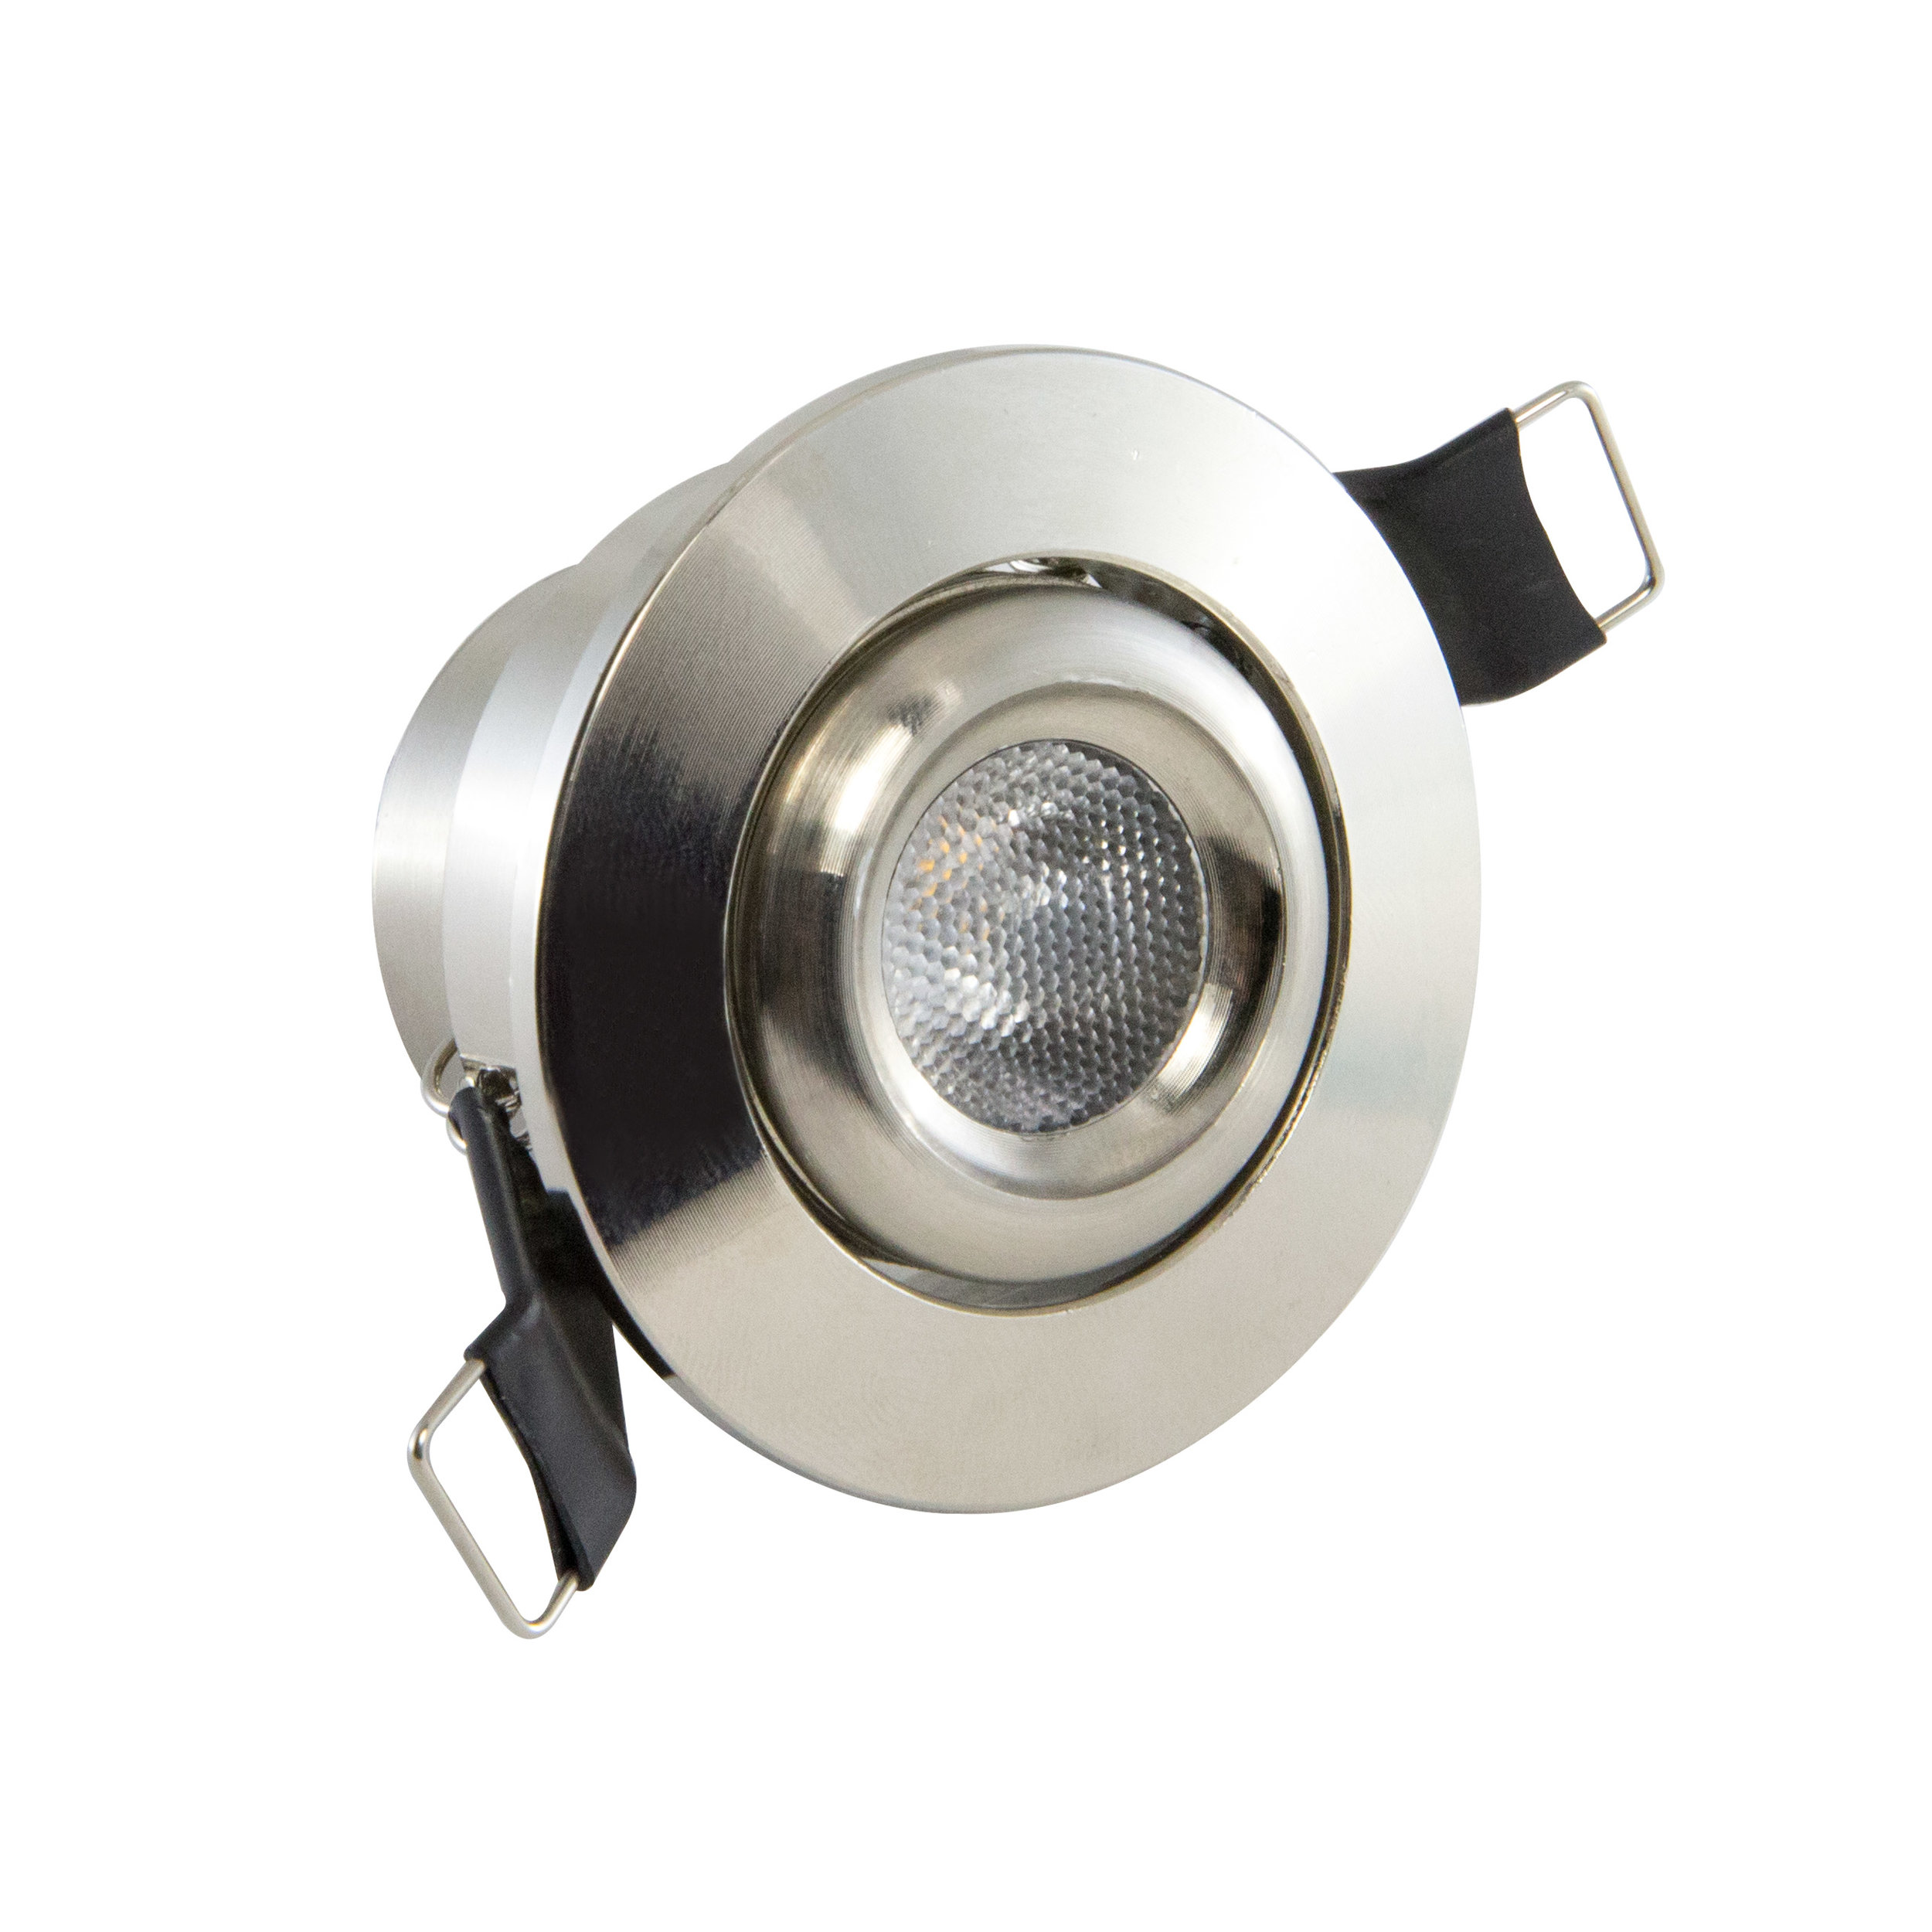
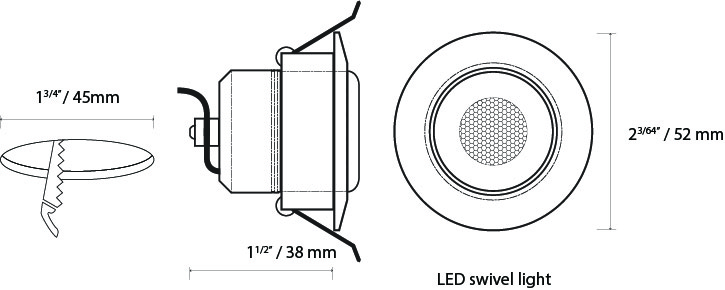
RD24 GIMBAL RECESS LED SPOT LIGHT
1.75 inch recessed LED cabinet spot light
Available in 2 Trim colors:
White / Brushed Nickel.
You will need a tool capable of creating a 1-3/4 in. cut-out to install.
Installation is achieved by inserting the RD24 into a 1-3/4 in. cut-out.
Pressure fit clips included on either side hold the gimbal light firmly in place.
Wire: 18AWG 2-wire requirement.
RD12 MINI RECESS LED SPOT LIGHT
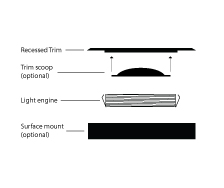
The RD12 is a super small 1-3/8 inch recessed LED cabinet light available in Black, White, and Brushed Nickel trims.
Very versatile, as it can be used as a plinth light or an upper cabinet light.
You will need a tool capable of creating a 1-3/8 in. cut-out to install.
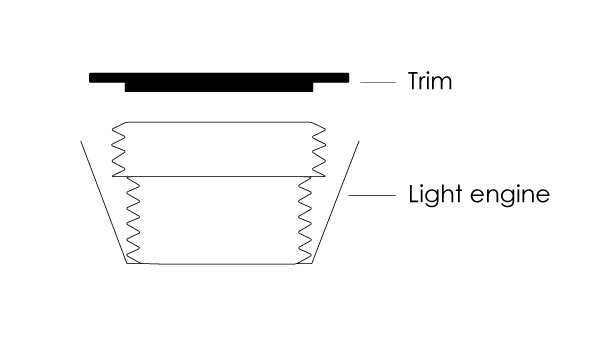
Installation is achieved by inserting the RD12 engine into a 1-3/8 in. cut-out. Pressure fit clips included on either side hold the gimbal light firmly in place. Interchangeable trims screw onto the LED engine when in place.
Wire: 18AWG 2-wire requirement.
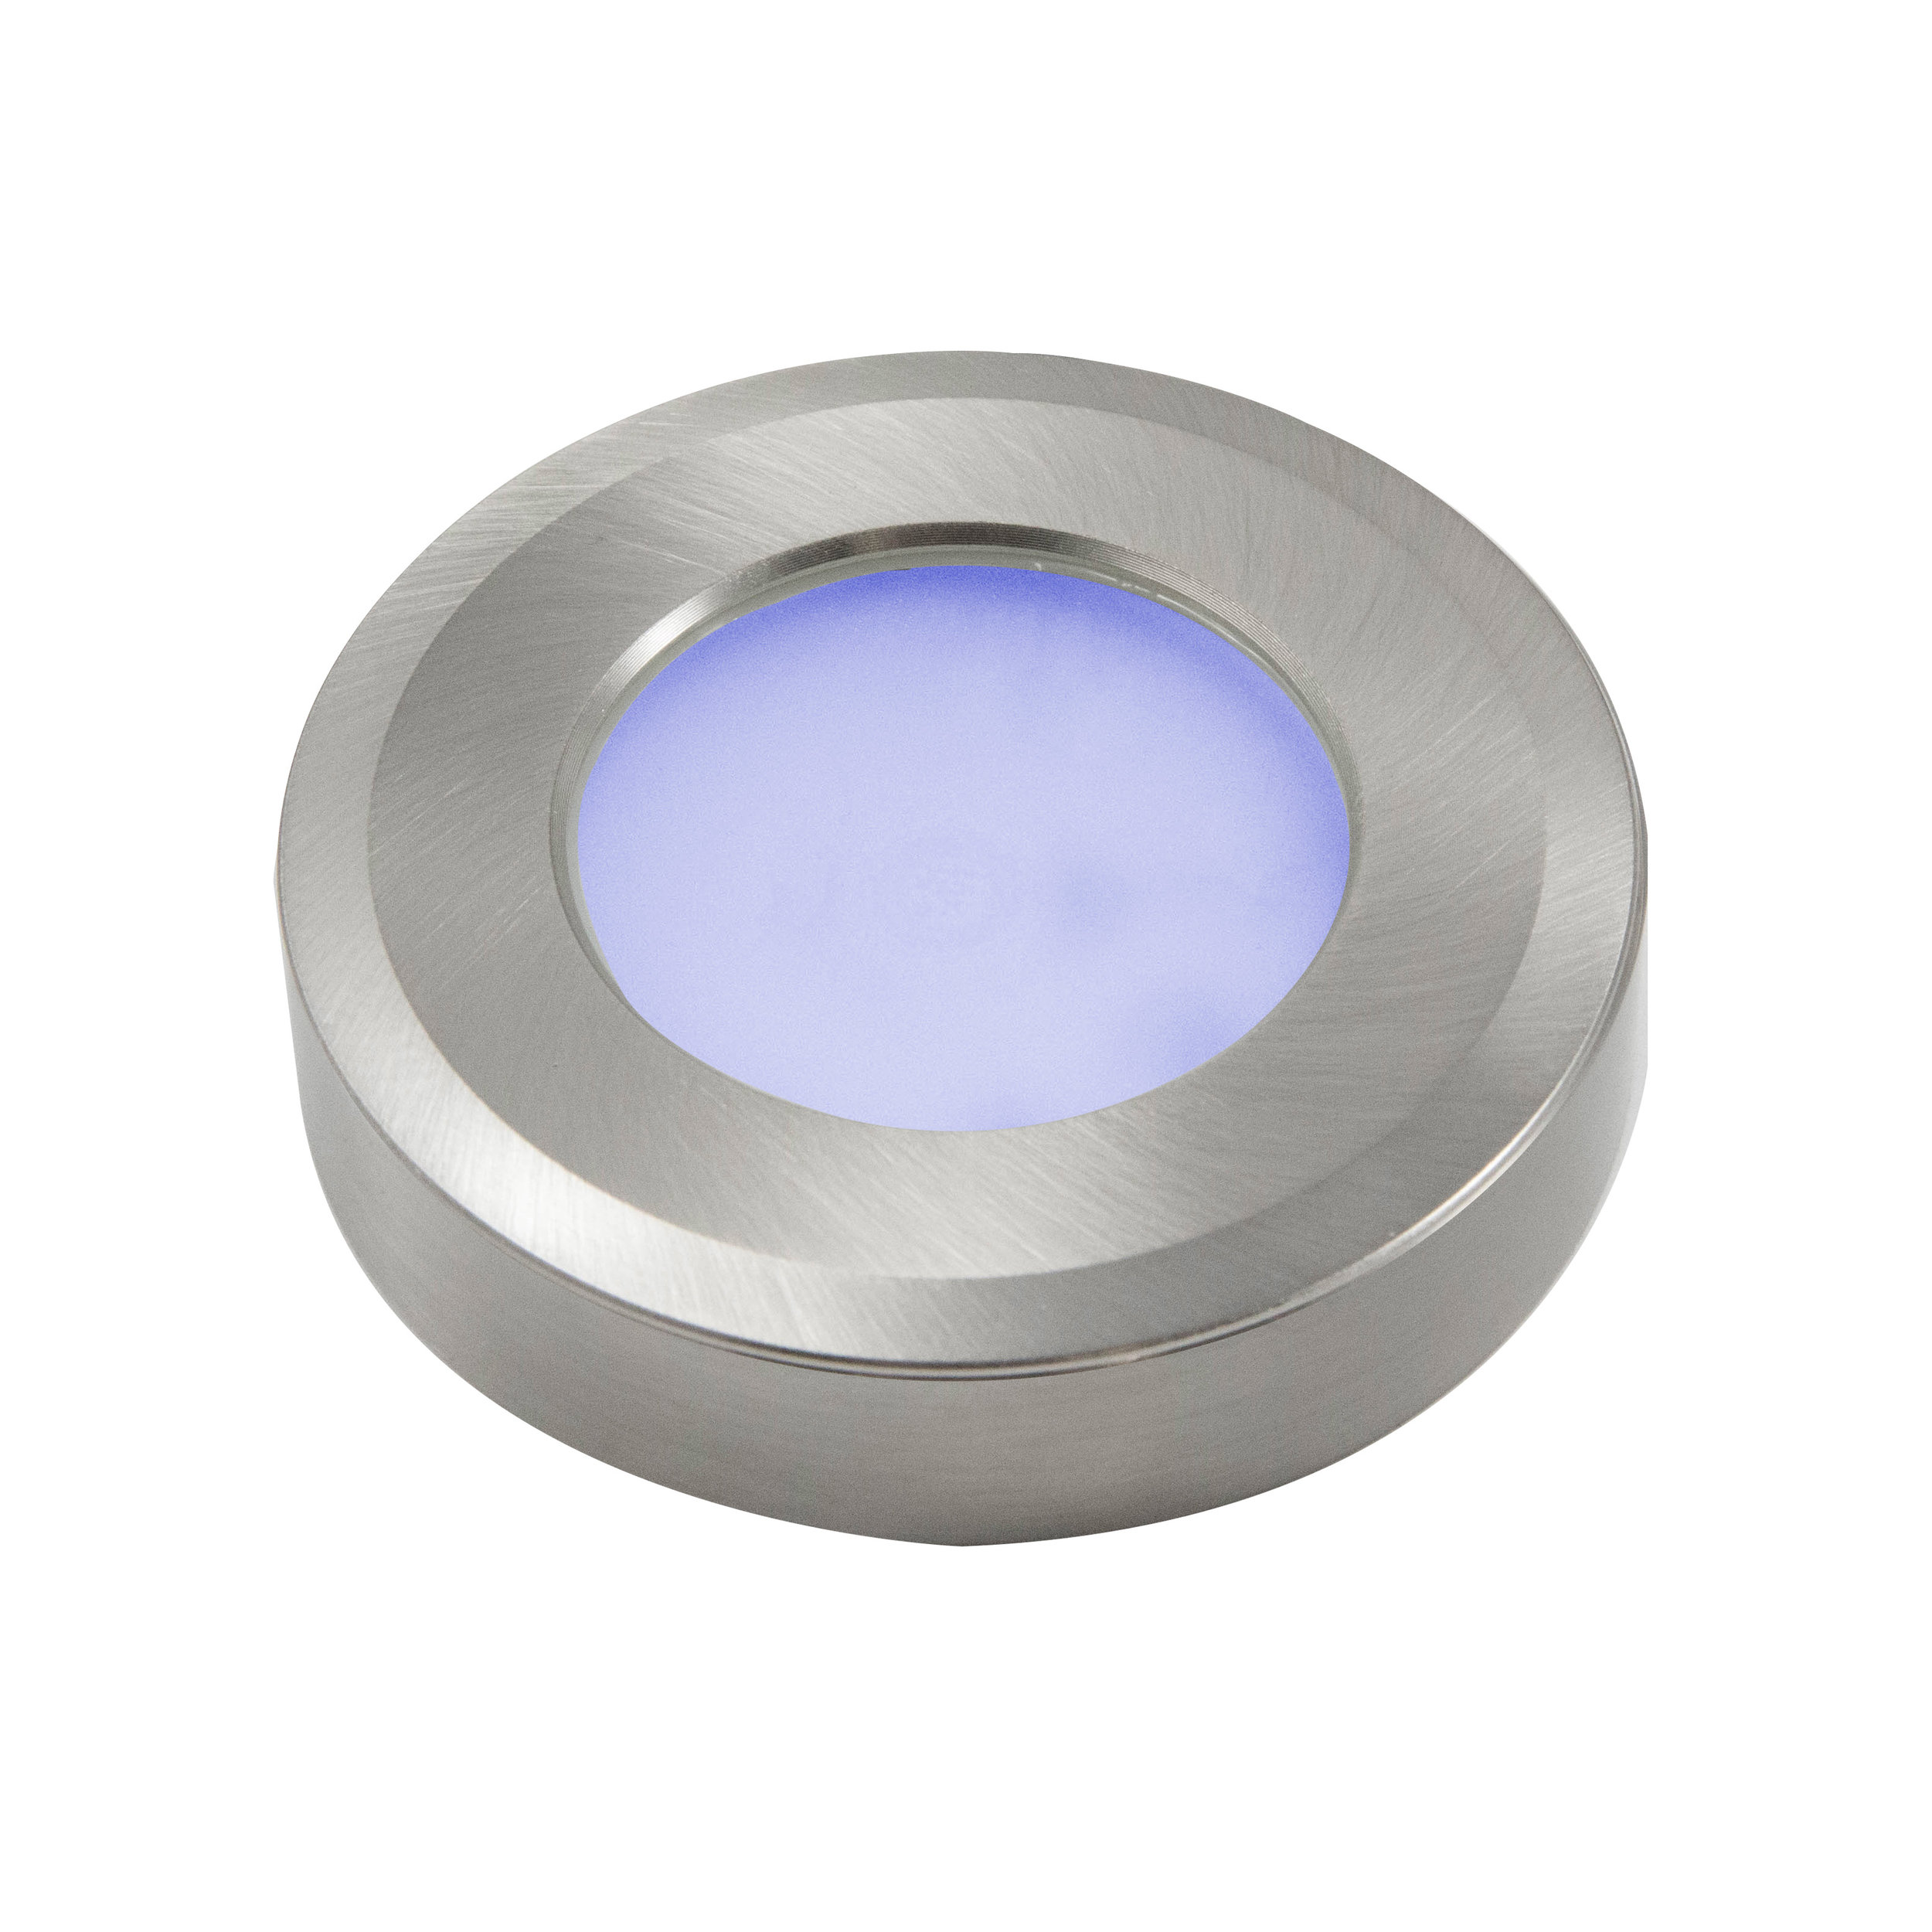
RGB (Colour Changing) LED PUCK LIGHT
2.25 inch RGB recess or surface mounted LED cabinet light allows you to choose any color using an RGB controller.
Black / White / Brushed Nickel trims available.
You will need a tool capable of creating a 2-1/4 in. cut-out if you wish to recess install.
Installation is achieved by mounting the included base using provided screws, or inserting the RGB RD10 into a 2-1/4 in. cut-out. Pressure fit clips included on either side hold the puck firmly in place.
Wire: 18AWG RGB 4-wire requirement.
1
Measure and Equip
Carefully plan and mark your LED lighting locations, paying specific attention to cut-out sizes, depths, and wire routing. Measure distances for space between lights, and determine whether you will be wiring to dimming switch plates, connecting power switches directly, or using wireless remotes.
2
Determine your LED Lighting requirements
What is the purpose of your lighting? Is it ambient or functional? Do you require flush mounted lights, or surface mounted?
3
Check Local Building Codes & Standards.
Be sure to check electrical code requirements and regulations for your region, and consult or hire an electrical contractor if unsure, or if hard-wiring is necessary.
4
PLAN LED Locations and Wire Routing.
Carefully plan and mark your LED lighting locations, paying specific attention to cut-out sizes, depths, and wire routing. If installing Power Supplies outdoors, they must be housed within regulation boxes, and wires installed underground must be run within appropriate conduit.
DIY Installation Requirements
Materials Required
1-1/8" spade bit
1/2" metal flex cable 14/2 plastic-sheathed cable
1/2" spade bit
Cable clamps
Fish tape
flex connectors
junction box
remodeling switch box
undercabinet lights
Wire nuts
DIY Cabinet Lighting Installation
12V and 24V Low Voltage Lighting is relatively simple to install, and can be performed without accessing 120V wiring. Most applications can be done by connecting a Low Voltage Power Supply with a plug that will connect to any existing outlet. If hardwiring is required, seek out a professional electrician.
Warning:
Pay careful attention to the wire connections, especially if installing an in-line dimmer. The negative (-) and sometimes black wire must connect to the negative connector on a power supply (-) or wire on the LED. Do not let the wires touch each other. If the wires touch while connected to the Power Supply, you will risk possible and irreparable damage to the LEDs and/or Power Supply.
Troubleshooting:
Under Cabinet Lighting: Plug-In Installations
Cord and plug accessories are available for most systems. This may be a good choice if you don’t have electrical knowledge and don’t want to hire a professional. Or, maybe you want to make a simple update, but aren’t planning a complete remodel.
Advantages
Easy for experienced DIYers to install – no electrical wiring necessary
A good choice for single-fixture applications
No new electrical access required
Drawbacks
Design constraints
Cords will be in view
Utilizes electrical outlets that might otherwise be free
LED Under Cabinet Lighting: Direct Wire/Linkable Fixture Installations
Direct wire fixtures are self-contained, meaning all of the elements needed to operate the light are contained within a single unit. They require a separate 120V power feed from the wall, but can be linked (fixture to fixture) once the first connection is established.
During cabinet hanging, the installer will bring the electrical wiring through the back of the cabinet. Many of Kichler’s under-cabinet fixtures come with everything needed for direct wire installation
Advantages
Linking fixtures simplifies installation
Electricians/installers are familiar with these systems
Drawbacks
These fixtures are designed for under cabinet use, so the ability to install other applications is limited
Hard Strip Lighting Installations
Hard strips feature a rigid exterior and quick connect end caps. This makes them easy to install with angled clips in linear applications. They have a lower profile than traditional under cabinet lighting, but a higher profile than LED tape lighting. Similar to tape lighting, the key is to hide the light and see the effect.
Advantages
Easy to clean
Can be dimmable
Rigid design enhances durability
Can be used in a variety of positions and applications
Snap-together connectivity
Can share a power source with LED tape lighting
Drawbacks
Careful planning is needed for best results
Come in predetermined lengths (vs. LED tape, which can be cut)
LED Tape Lighting Installations
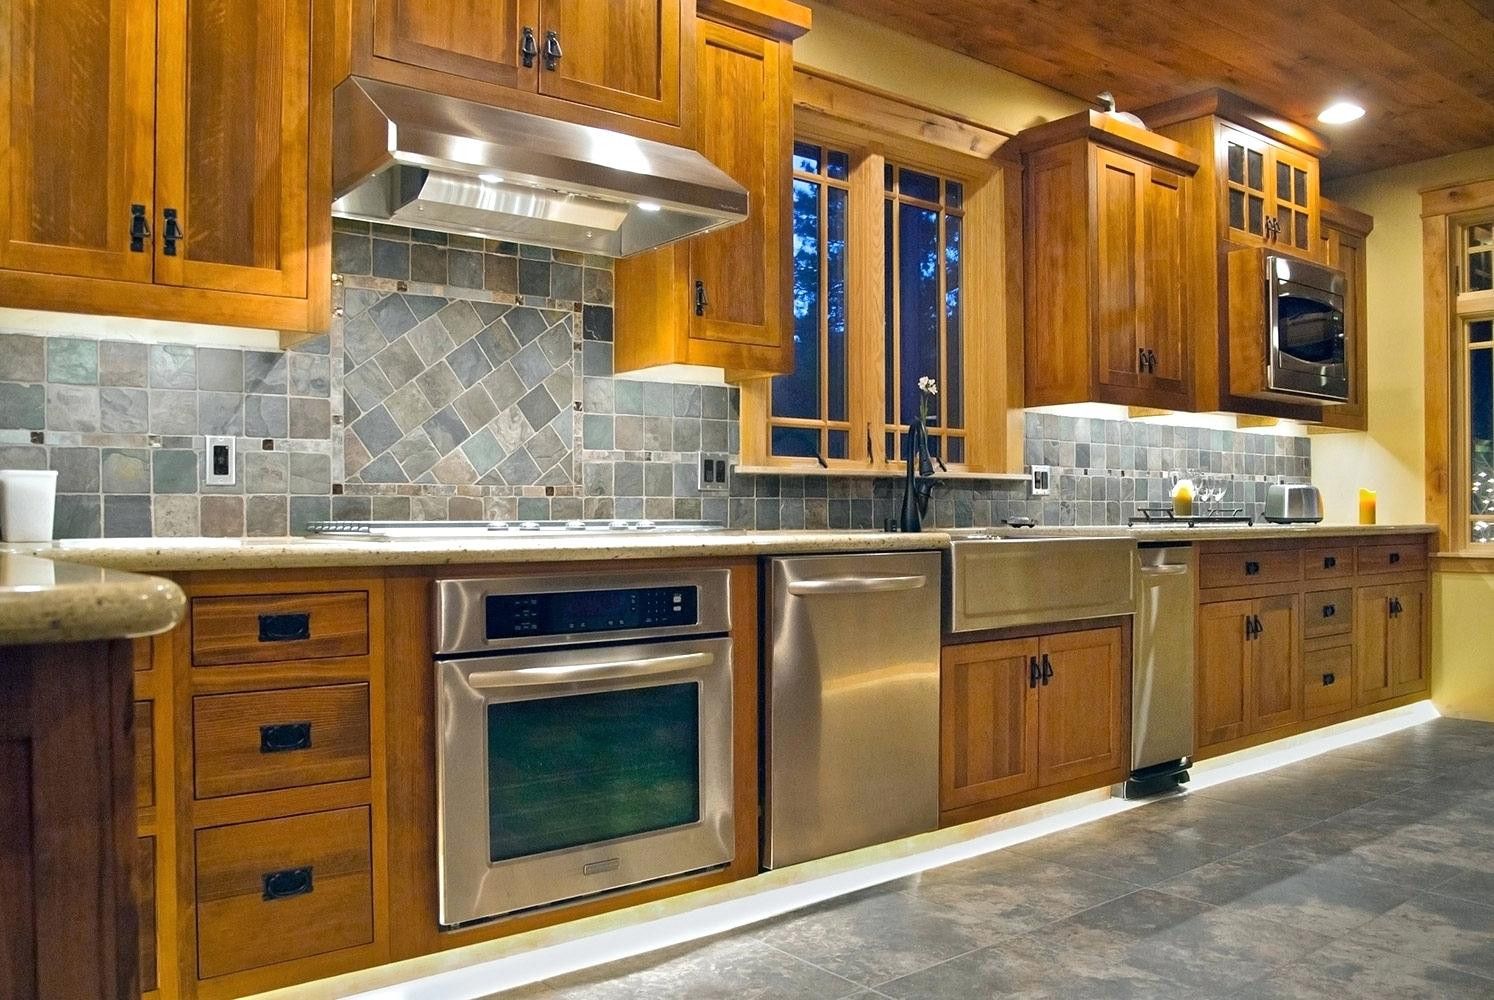
Also called “Architectural Detail Lighting,” LED tape lighting systems have the power to create a dramatic flair. The key is to hide the fixture and see the lighting effect.
Lighting systems should be planned in advance so all components are ready and available before your cabinets are installed.
Advantages
Mounts with an adhesive backing, or in a track or channel
Can be dimmable
Provides a small, compact light source
Can be cut to varying lengths
Allows for even light over longer runs
Can be used in a variety of positions and applications (toekicks, coves, trays, etc.)
Flexible design applications when paired with accessories
Can share a power source with hard strip lighting
Drawbacks
Detailed planning and installation are needed for best results


